Taylor Guitars Expression System 2 Upgrade
Introducing The Taylor Guitars ES2
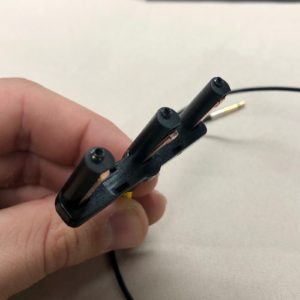
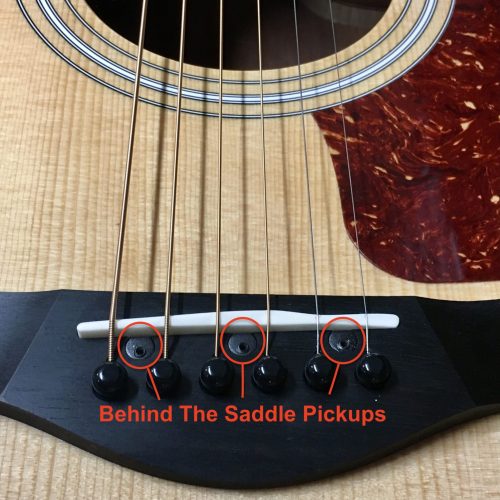
Taylor Guitars’ Expression System 2 (ES2) is the latest of Taylor’s ongoing innovations in acoustic guitar amplification to bear the Expression System name. The heart of the Expression System 2 is a patented behind-the-saddle pickup, which features three uniquely positioned and individually calibrated pickup sensors. The location of the sensors is designed with the intent of capturing more dynamic range compared to other pickup types.
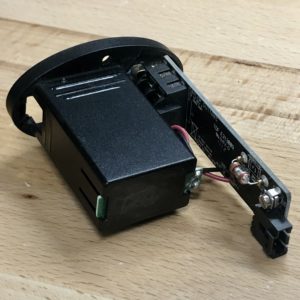
Like earlier versions of the Expression System, the ES2 features minimalistic, body mounted, volume and tone controls. The current preamp is the same that was used with Taylor’s EST pickup system. It sports a PCB mounted battery indicator light and phase switch.
Rethinking Piezo Under Saddle Pickups
For decades, piezo-electric transducers have been most commonly positioned under the saddle of a guitar. Critics of traditional under-saddle pickups characterize their sound as thin, brittle, brash or synthetic, especially with more aggressive playing. Furthermore, many people feel that placing a pickup between the saddle and the bottom of the bridge can have a negative impact on the acoustic sound of the instrument.
In response, Taylor Guitars relocated the pickup. Three pickup sensors are installed behind the saddle, with Allen screw adjustments to calibrate their position. The new orientation enables the elements to respond more naturally to the guitar’s energy as it is transferred through the saddle.
ES2 Retrofit Requirements
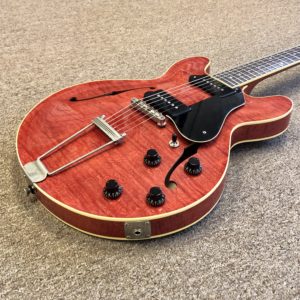
In our shop, The Taylor ES2 upgrade is available for instruments that already have an earlier version of the Expression System. It is a great choice to change the sound of your existing instrument or restore an instrument with an earlier expression system that has been damaged beyond repair.
The body must already be cut for the preamp controls and power supply; This includes models that were factory equipped with ES1.1, ES1.2, ES1.3, or ES-T Expression Systems. If your guitar does not fit this description, please check out our article on the K&K Pure Mini to learn about another excellent pickup system that might be better suited to your instrument.
Please note: Taylor has made two versions of the ES2 available to accommodate legacy models utilizing either AA or 9V battery boxes. If you wish to convert your guitar from AA to 9v, Taylor Guitars recommends that the instrument be shipped back to the factory for modification of the instrument’s end-block.
ES2 Upgrade Cost
Calico Guitarworks is the area’s preferred factory authorized service center for Taylor Guitars. At the time of writing, we are the only shop in the Long Island, NYC, Brooklyn, or Queens area that is able to offer this retrofit. You get the same quality of installation, at a fair price, without the added expense, risk, or wait time of shipping your guitar to Taylor. Please review our repair menu for pricing information.
ES2 Retrofit Installation
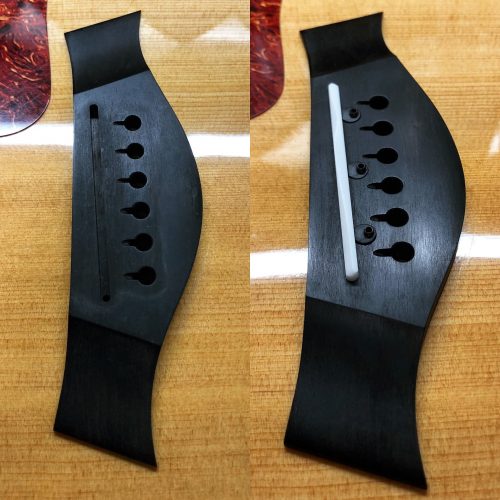
Drilling ES2 Mounting Holes
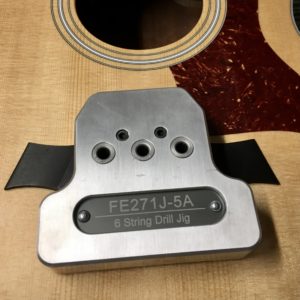
Before installation of the new ES2 system can begin, the strings, original electronics, and saddle must be removed from the guitar.
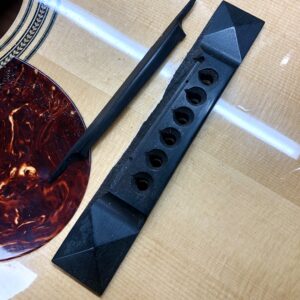
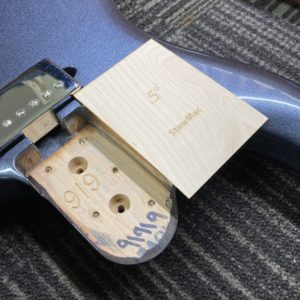
We then mount the jig provided by Taylor Guitars to assist as we carefully drill through the top of the bridge, creating three precision mounting holes for the ES2 pickup.
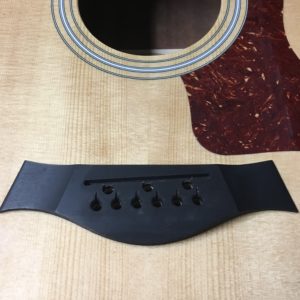
Once the holes are drilled, we remove the jig and clean the debris left behind.
The holes are precisely drilled to hold the pickup assembly in position without any additional aid. The opening at the front, extending into the saddle slot, allows the pickups themselves to make contact with the saddle.
Mounting The New System
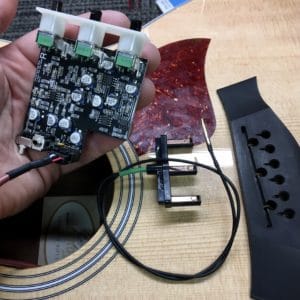
Mounting the new electronics is a simple procedure requiring just a few minutes. The first step is mounting the pickup; Working through the soundhole, we gently slide it up into position from underneath the bridge.
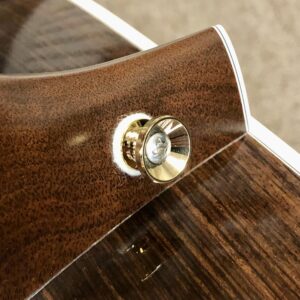
Next we mount the new battery box before connecting the cables of both items to the preamp. Finally, the preamp is placed inside the guitar and secured with the included threaded bushings.
To wrap up installation, we affix the wiring using clips to keep them out of sight and prevent rattling during use.
With the pickup properly installed, it is the perfect time to preform a setup and or an NT neck reset on the instrument to ensure it is playing its best.
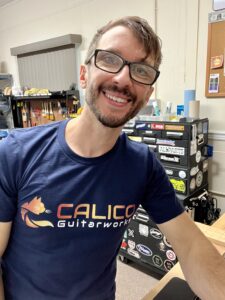
Erik Salomon - Calico Guitarworks Owner / Head Technician
Tech Talk articles are part of an ongoing effort to provide clear and detailed answers to common questions about guitar maintenance, modifications, and repairs.
While not intended as a step-by-step guide to servicing your own instrument, we hope that you will find value in the information provided.

Great Repairs Start With The Right Parts
Many of the parts mentioned in our blogs are available for purchase at:
GuitarRepairParts.com
Enter the code "TechTalk10" at checkout for 10% off your first order.
About Calico Guitarworks
Calico Guitarworks is the area’s premier destination for fretted musical instrument care and maintenance. Owned and managed by Erik Salomon, the shop is dedicated to providing quick, honest and reliable service. The staff at Calico Guitarworks has a combined 25+ years of professional guitar repair experience. Sharing the knowledge that we accumulate in this focused pursuit is at the core of what we do. Learn more About Calico Guitarworks, explore our Frequently Asked Questions, or Contact us with a specific request.

